My first decent camera was a Nikon D3100 and I bought it on Amazon in 2013. It was a no-frills, entry-level, consumer DSLR camera, and I was so excited when I first got it! I shot anything I could with that 14-megapixel camera.
At that time, I had just picked up photography as a hobby and had no idea what my style was, so it was a perfect fit for me. Here's one photo from 2013:

By 2015 though, I had settled on landscape photography and knew that I wanted to print my work. I eventually used several images from that camera in my coffee table book Majestic and Magical, but I wanted to print larger.
I needed more megapixels, but how much more?
Please note: Links to any gear in this blog post are Amazon Affiliate Links which allow me to get a tiny commission if you make a purchase, at no extra cost to you.
The Megapixel Wars
In many landscape photography circles, the ultimate sign of the 'perfect' camera body is one with a large megapixel count. Marketing departments at camera companies routinely boast of their latest and greatest model in terms of the number of megapixels captured by the camera's sensor.
As a result, each major brand now has its own megapixel monsters. For example:
|
Manufacturer |
Megapixel Monster |
|
Nikon |
Nikon Z7 (45 megapixels), Nikon D850 (45 megapixels) |
|
Canon |
Canon R5 (45 megapixels), Canon 5DSR (50 megapixels) |
|
Sony |
There's a good reason for this phenomenon - more megapixels make it possible to capture more details in a single shot. And for landscape photography, it's all about the details, especially if you print your work. Here's why.
Why More MP Matter
This chart is a good visual reference to help explain the relationship between number of megapixels and print size:
Chart for comparing digital camera resolution in megapixel (Source: VisualWilderness.com)
As you can see, the more megapixels in your camera, the larger your image can be printed. And that's not to say that you can't enlarge photos digitally. However you would essentially be stretching the existing image, which significantly reduces the print quality if you're looking at it from a close distance.
The Dilemma
The need for more megapixels creates a serious issue for some photographers, like me. Do you:
- Invest in a camera with a very high megapixel count, such as the Fujifilm GFX 100 with its 102 megapixel and price tag of US $10,000? A camera like this one will create prints as large as 5 feet wide with little to no loss in quality. (Don't forget, you'll need to buy lenses which are generally US $2,000 and more 😀)
- Or do you invest in a good camera system that has the capability of producing great images and find some kinda workaround.
This question is what's called a no-brainer!
To be fair, there are only a couple viable methods to create high megapixel images without a high megapixel camera. They aren't perfect - each method can't be used in every situation - but they can produce brilliant results.
My Solution
I've resumed my experimentation with multiple row panorama stitching, a photography technique that allows me to create high megapixel count images and thus, very large, high quality prints.
Here's how it works:
- Instead of using a wide angle lens (say, 18mm) to capture a large scene, I use a much longer lens (usually 70mm or more) to break up that same scene into tiles.
- I shoot each tile, one by one (usually in rows from left to right), until I've covered the entire scene.
- Then I load each individual image into a specialty computer program that helps me to stitch them together.
- I will then follow my usual post-production workflow and process the stitched image to reflect my taste and vision.
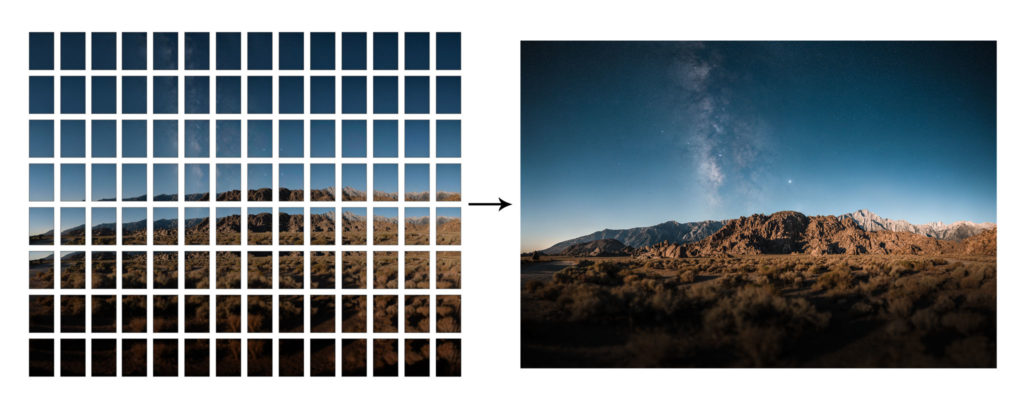
This example large format astrophoto was created by stitching together 112 individual 12-megapixel overlapping exposures. The result is a final photo with a resolution of about 400 megapixels. (Source: LonelySpeck.com)
I'm sure you can appreciate that this process requires a whole lot of work - several hours in the field and even more time editing the footage. But I'm always amazed by the results, that is, when it works... and it doesn't always work!
The Results
By no means am I as accomplished as the guy who created the image above! It takes a lot of practice, not to mention some specialized gear and tons of patience. But it's been fun so far, and I love the progress that I'm seeing.
Here's a list of my large megapixel images I've worked on recently. I will keep adding to this list so this will become an archive of sorts.
Enjoy the panorama viewer: click the box in the bottom right corner to expand to a full screen and zoom in and out to see the details of each image. (You may need to wait for a couple seconds to allow image to buffer.)
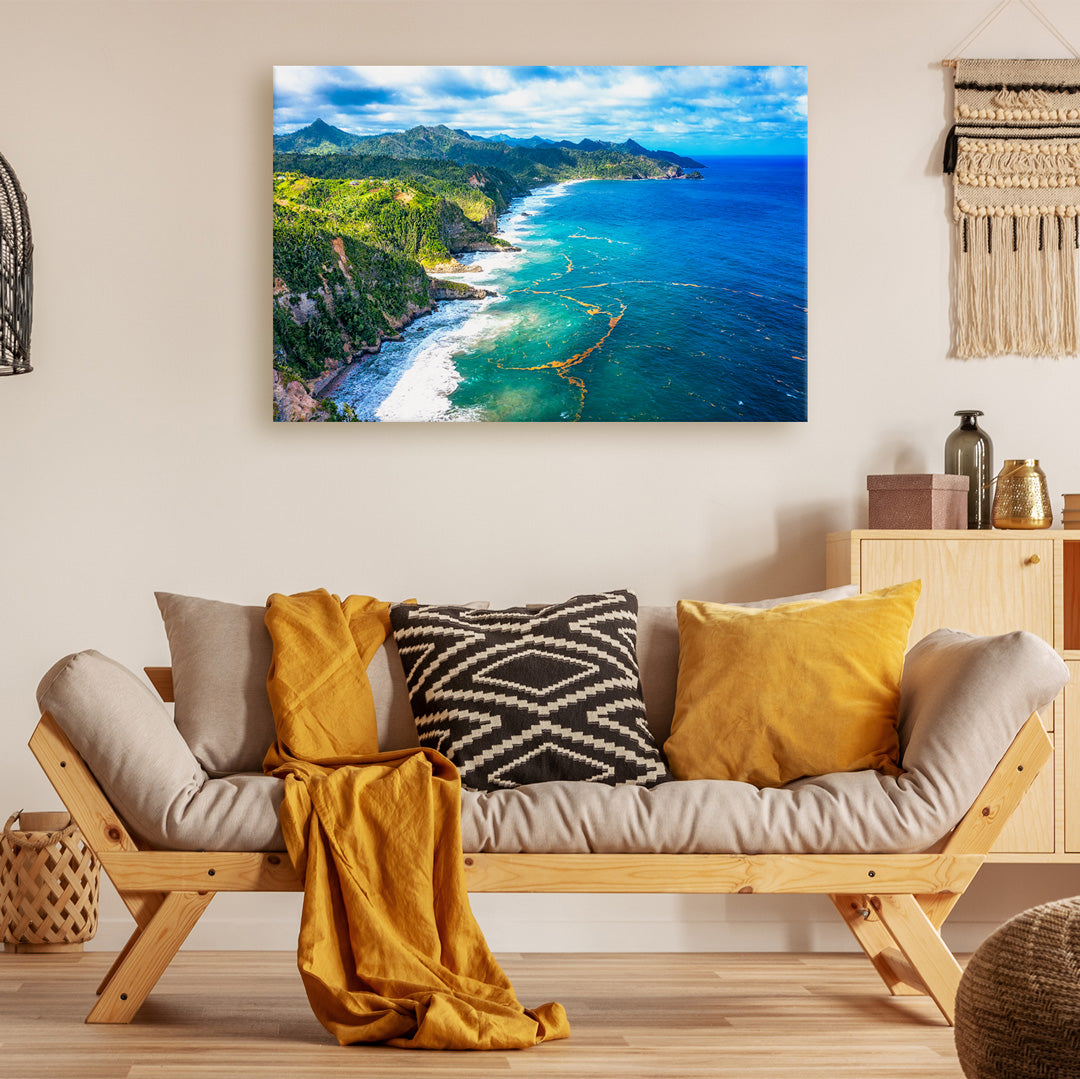
Enchanted Cabana Beach
 24 stitched images. f/13, 0.4 sec. ISO 100, 70mm.
Cabana Beach is located between the villages of Marigot and Wesley on Dominica's northeast coast. It is part of a large estate that features a long stretch of brown sand, a river and a coconut grove. Available as a canvas print here.
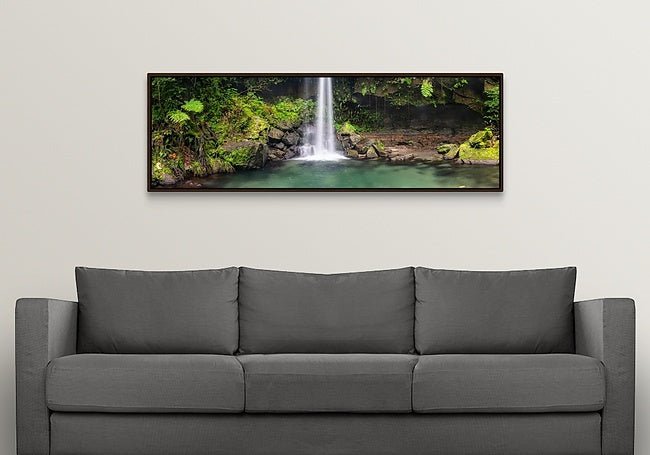
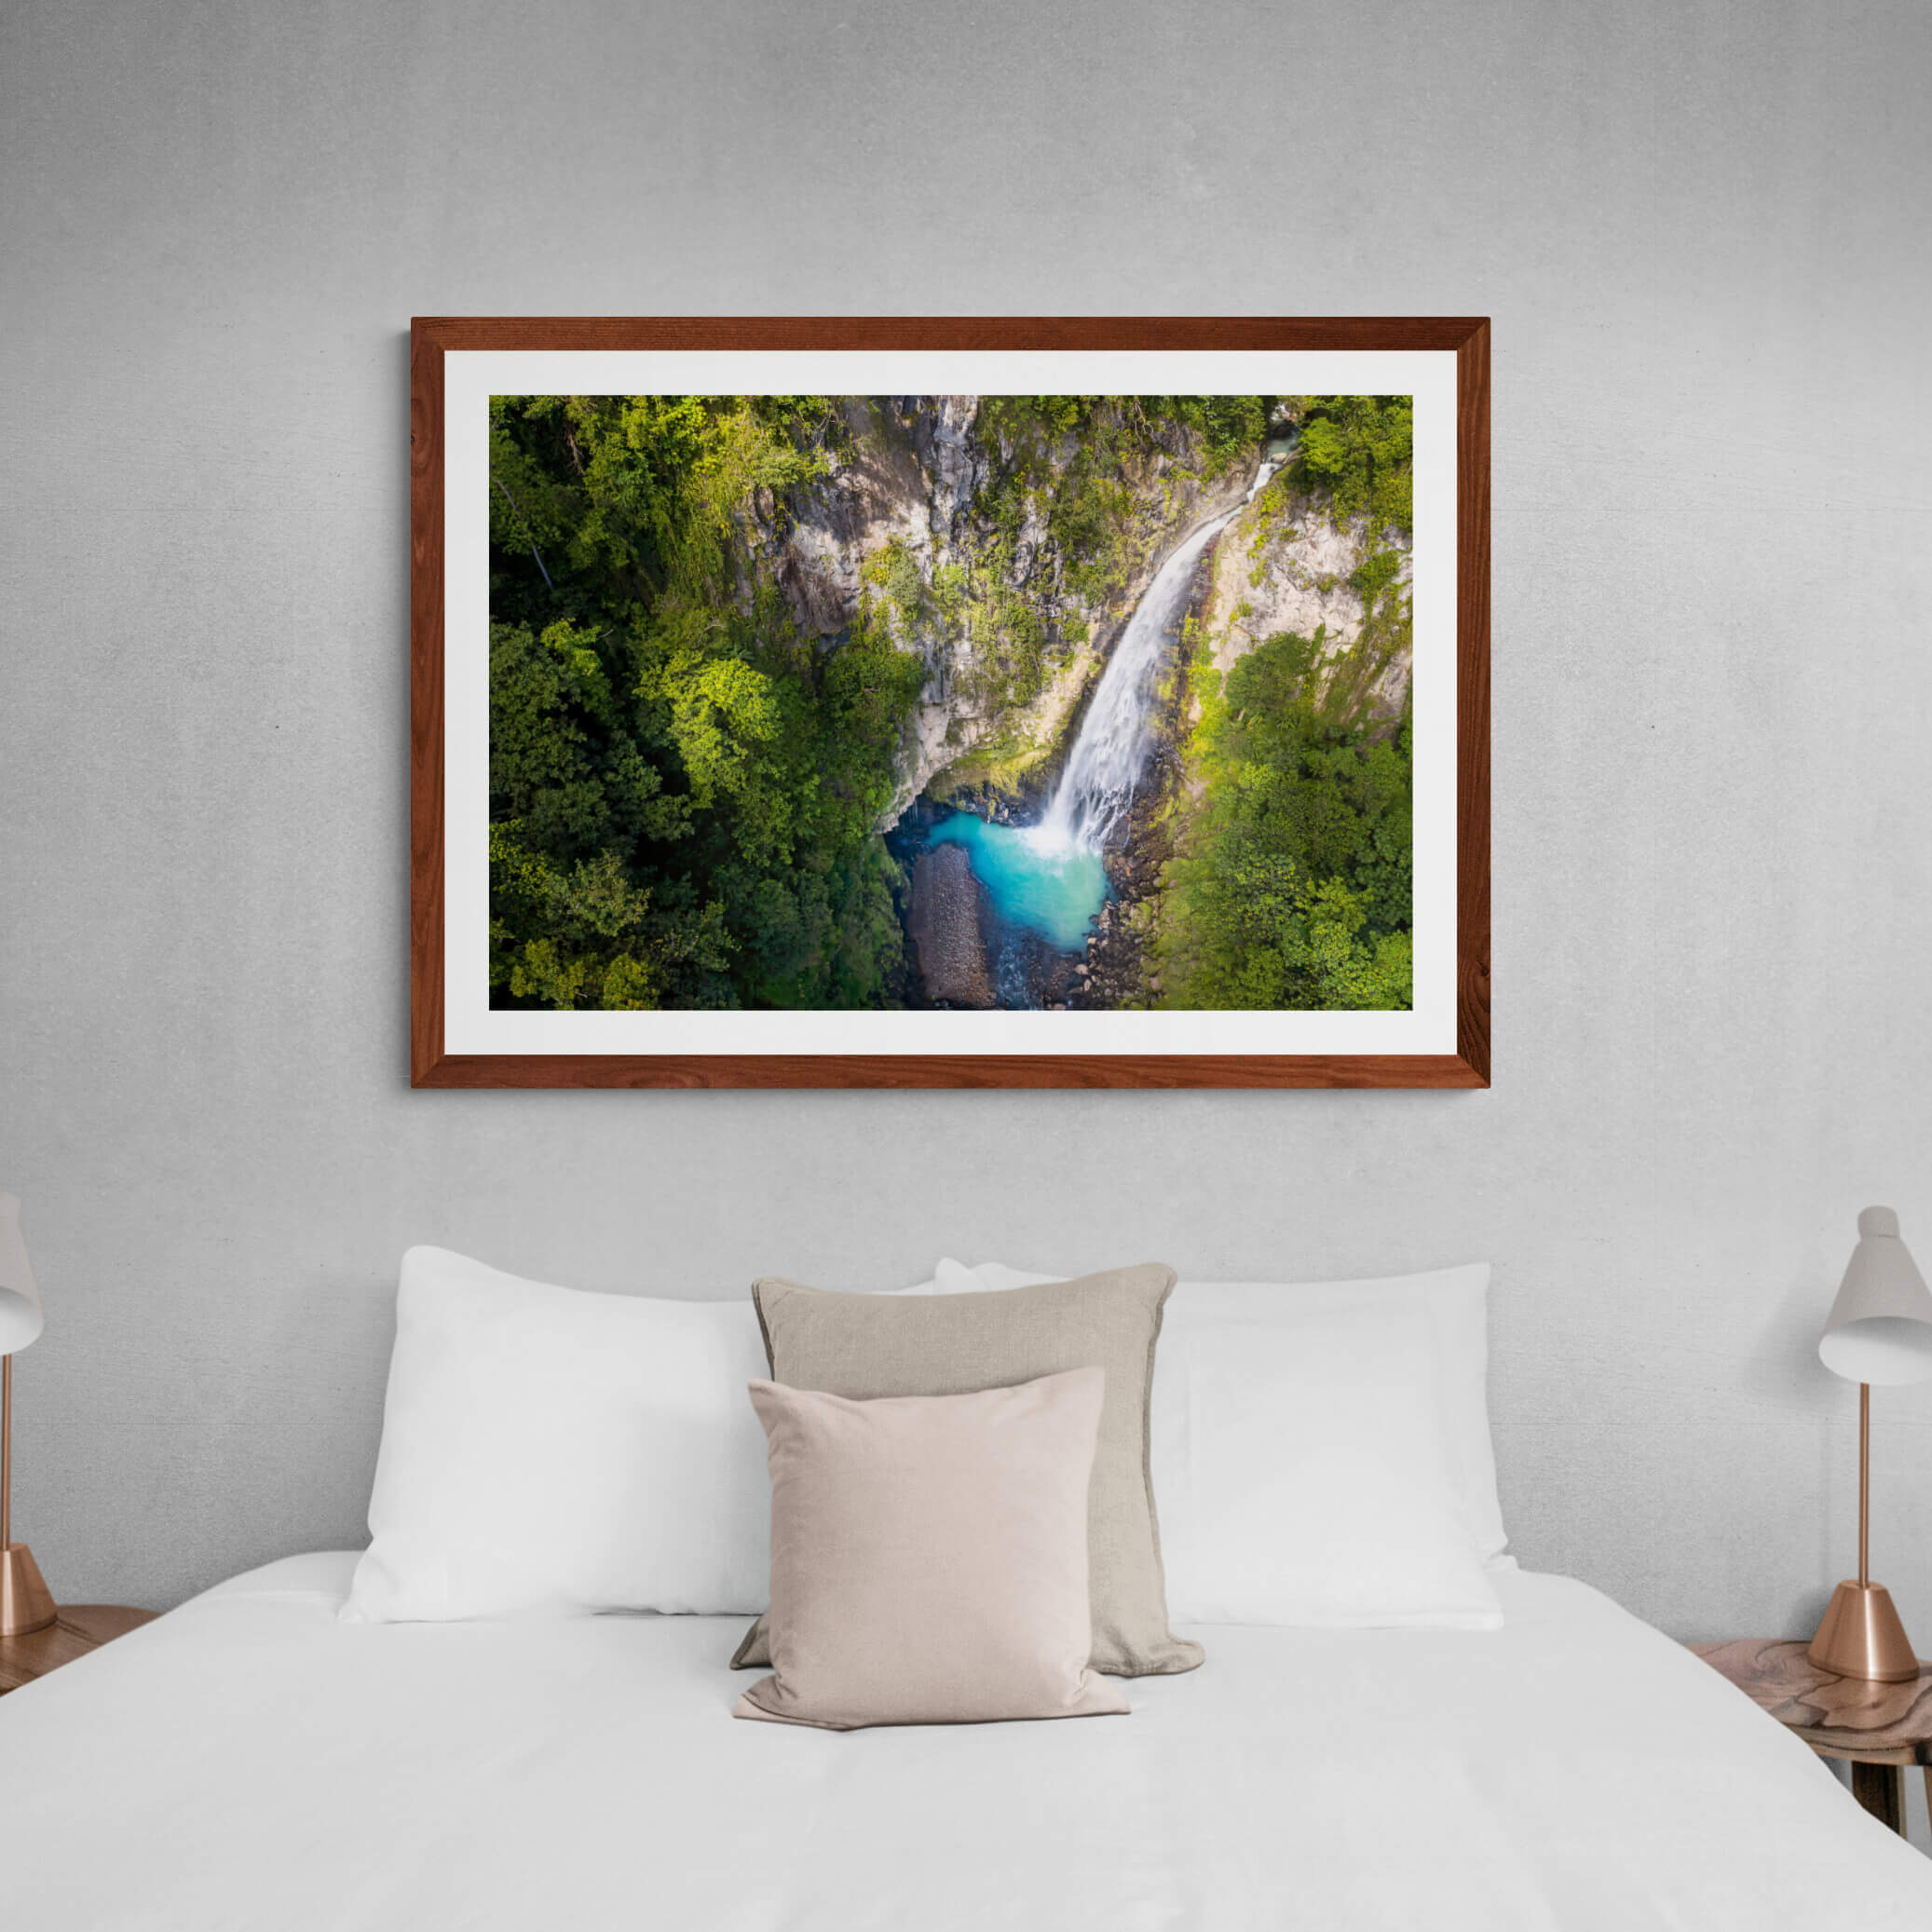
Emerald Pool #14

24 stitched images. f/14, 3 sec. ISO 200, 45mm.
Emerald Pool is probably the most well-known and visited nature site in Dominica. Instead of attempting to capture the entire waterfall, I wanted a more abstract composition that featured the details near the base of the waterfall. Available as a canvas print here.
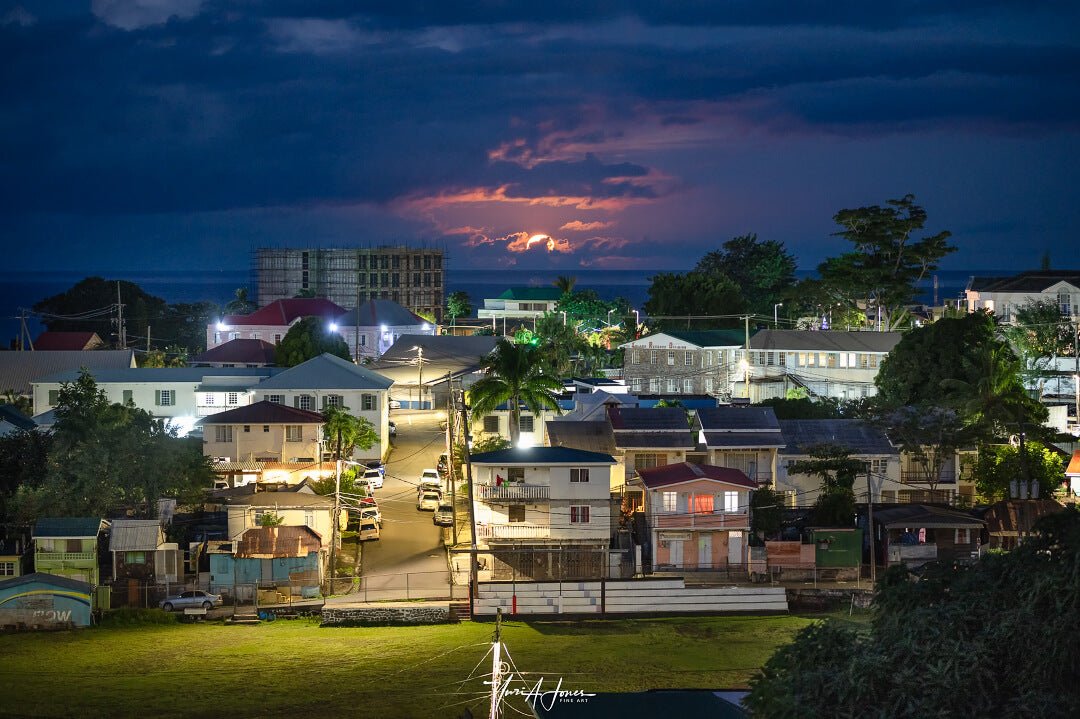
Roseau, Wake Up

35 stitched images. f/8, 1/160 sec. ISO 100, 105mm
Morne Bruce gives you an ideal view of Dominica's capital, as far south as the old DBS Radio to as far north as Do It Center, on Goodwill Road! Available as a canvas print here.
Sunset at the Crucifix

f/8, 1/125 sec. ISO 100, 70mm
This image was done just as a trial and I may delete it later. It's not on my website, but if you're interested, feel free to let me know!
I know this was a long post, so if you got this far, Thank You! 🙏🏿 I hope you stick around to read some more, or leave a comment with some feedback!




Leave a comment
All comments are moderated before being published.
This site is protected by hCaptcha and the hCaptcha Privacy Policy and Terms of Service apply.