


Night-to-day and day-to-night timelapse sequences are often called the holy grail of timelapse photography. That’s because it is difficult to capture the significant light changes without using cumbersome equipment or tedious strategies.
Many months ago I attempted such a sequence and thought I’d done a decent job… until I did some research and found out that I had a long way to go!
*facepalm*
I won’t go into much technical detail about my process, but the following helped a great deal – Google Nexus 7 (used)* and qDSLRdashboard.
Between the two, I am able to operate my camera remotely and that hands-free access allows me to adjust my camera settings on the fly.
The entire setup is wireless and although it’s a more hands-on approach than what I used before, I got a better result.
Here’s how it works:
- Whenever the camera captures a photo, it sends a copy of the image of the tablet
- I assess the photo and decide whether any changes need to be made. For example, if it is too dark, I could increase the shutter speed.
-
I would do this throughout the timelapse sequence.
Check out the result below. And if you’re interested in my technique, I’ve included some details below as well.
Sunset
Step 1 – Composition
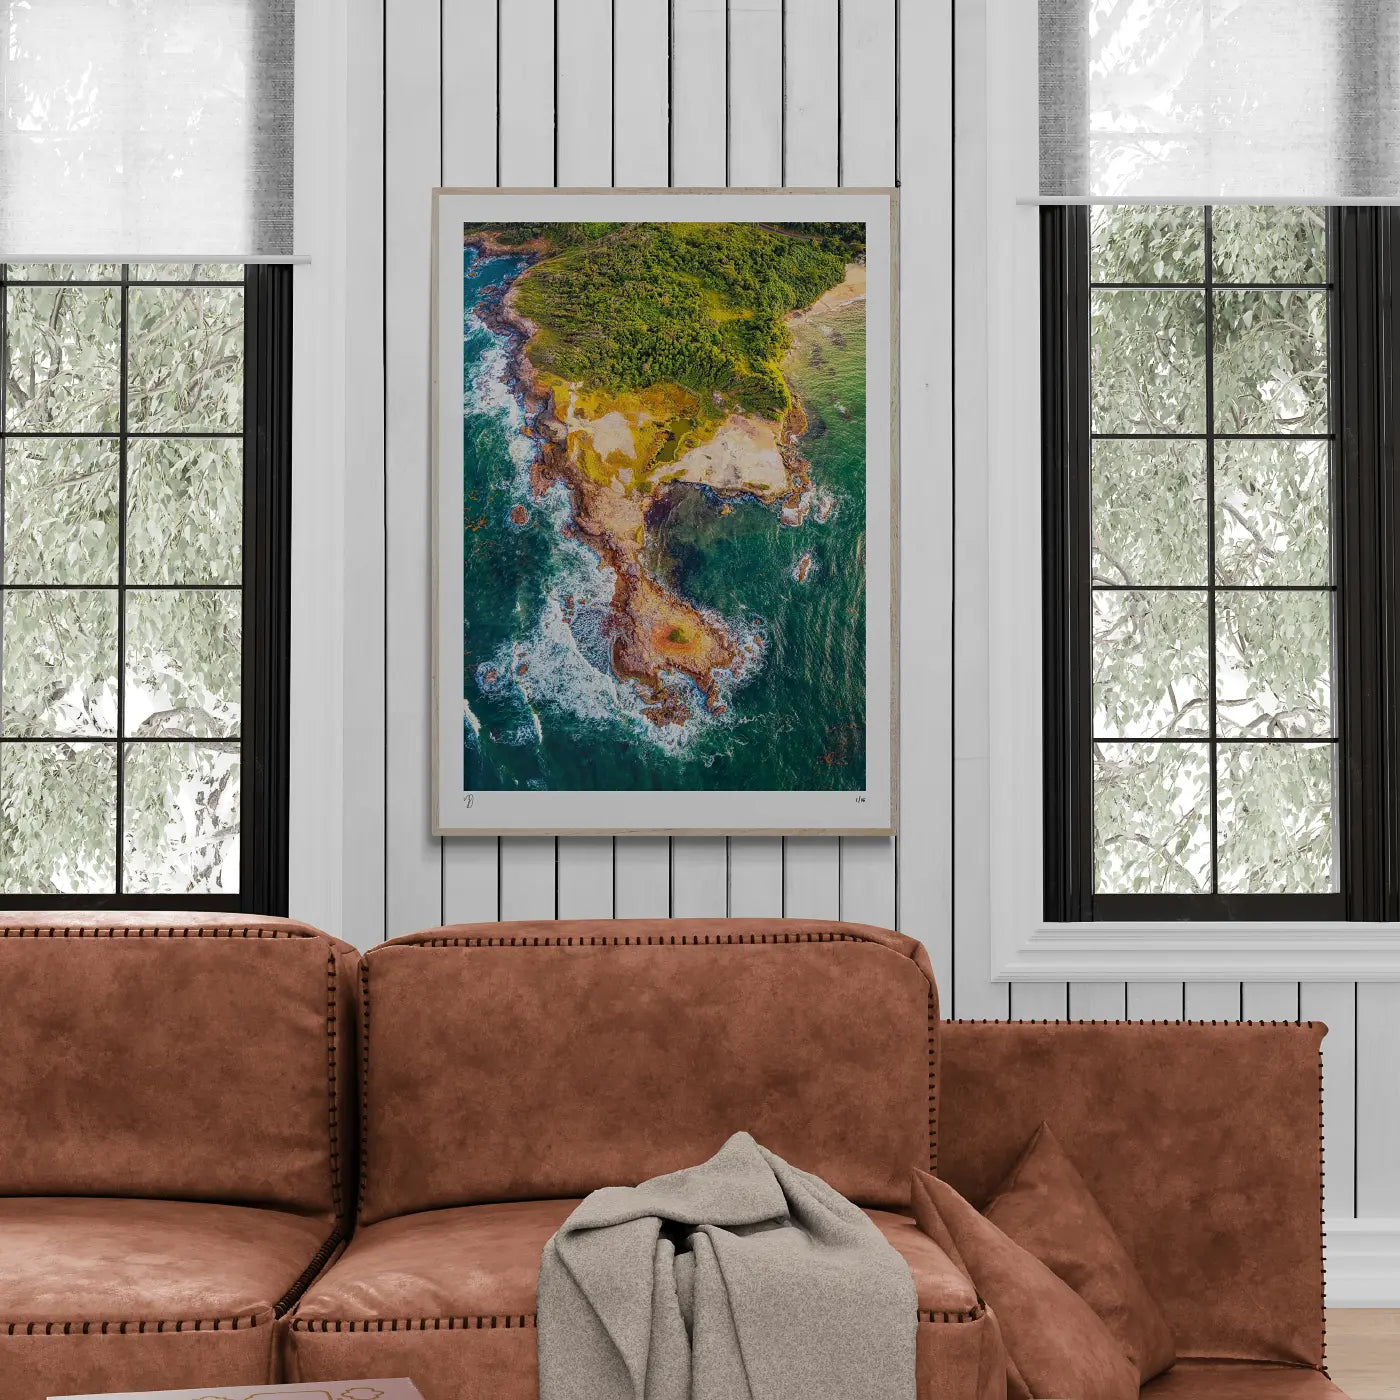
The first step I took was setting up my composition. I wanted the sun within my frame, but not overpowering it. I also observed a young boy near the binoculars stand, and decided that he should be in too!
Step 2 – Settings
The main idea behind this technique is to change all three parameters (aperture, shutter speed and ISO) as the timelapse sequence progresses. I started with:
1/30 sec at f/13, ISO 100
These settings would give me room to either:
-
increase the shutter speed,
-
reduce the f-stop (aka aperture) or
-
increase the ISO
Either move would increase the brightness of the photo, which becomes more necessary as the day goes into night.
Step 3 – Execution
Compared to my previous holy grail attempt where I could set up the camera and turn my back, this was definitely more hands-on.
I needed to assess most images to make sure than they weren’t over- or under-exposed. It’s easy to do this on the tablet, with a big screen. And it’s just as easy to change the exposure settings for my Nikon D7200 using the same tablet.

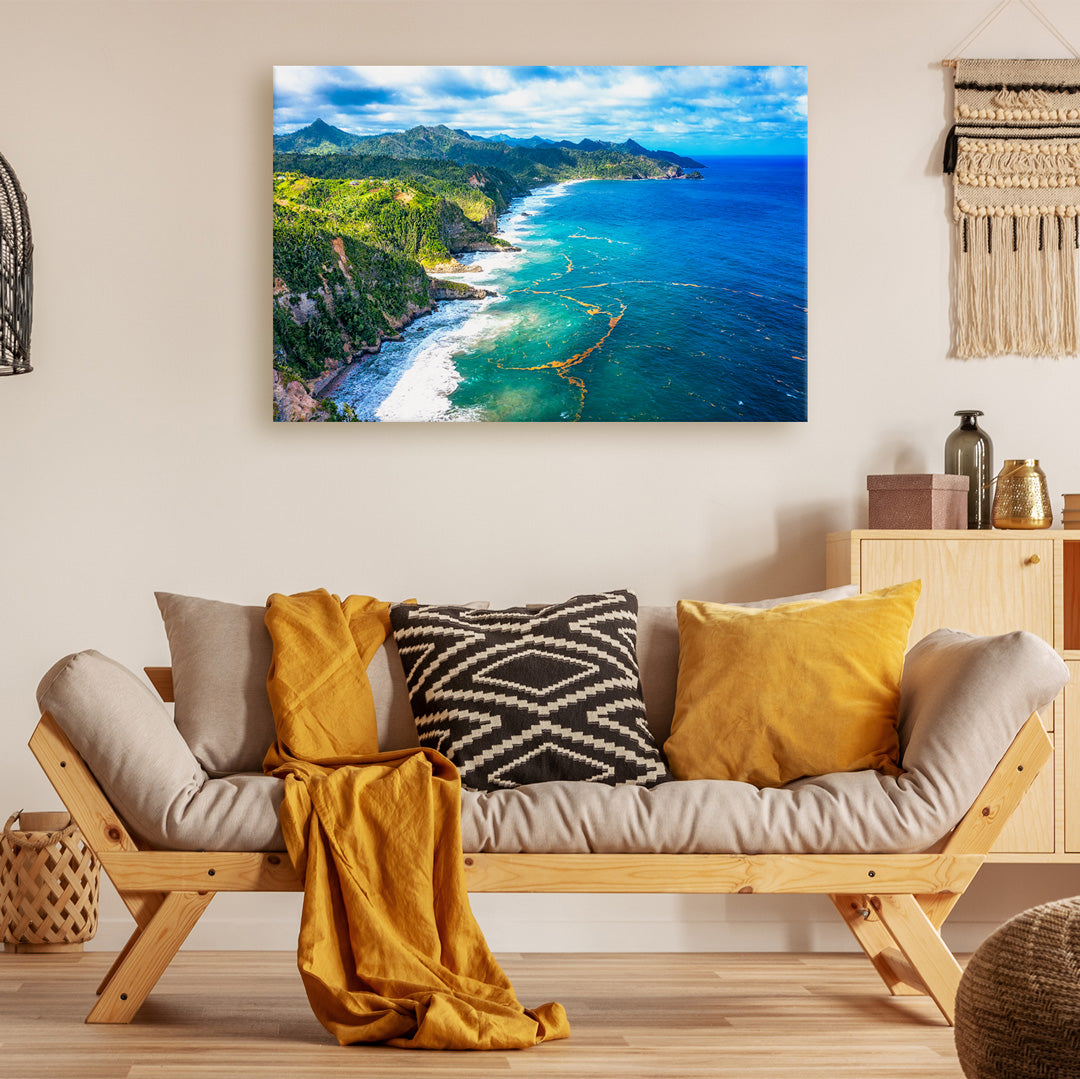
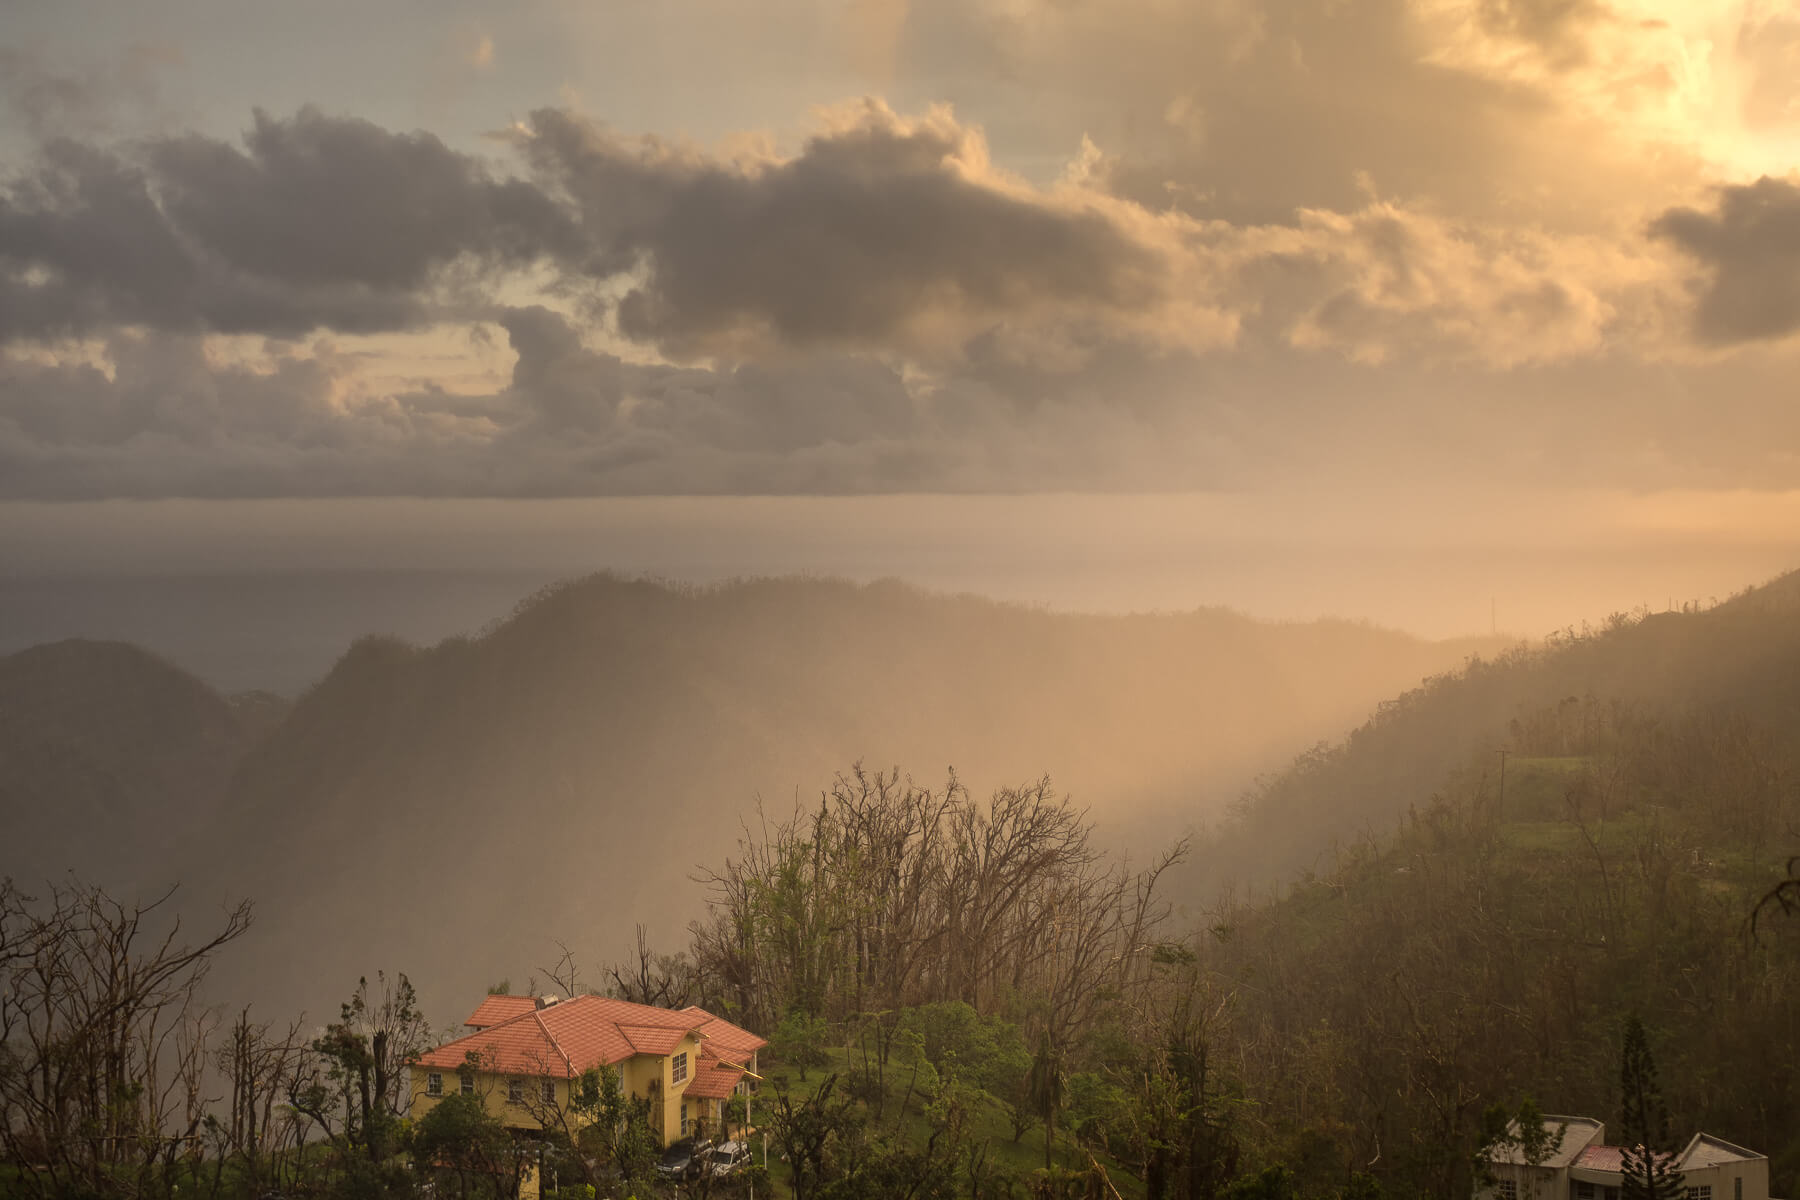
One frame from the sunset sequence.
Sunrise
Step 1 – Composition
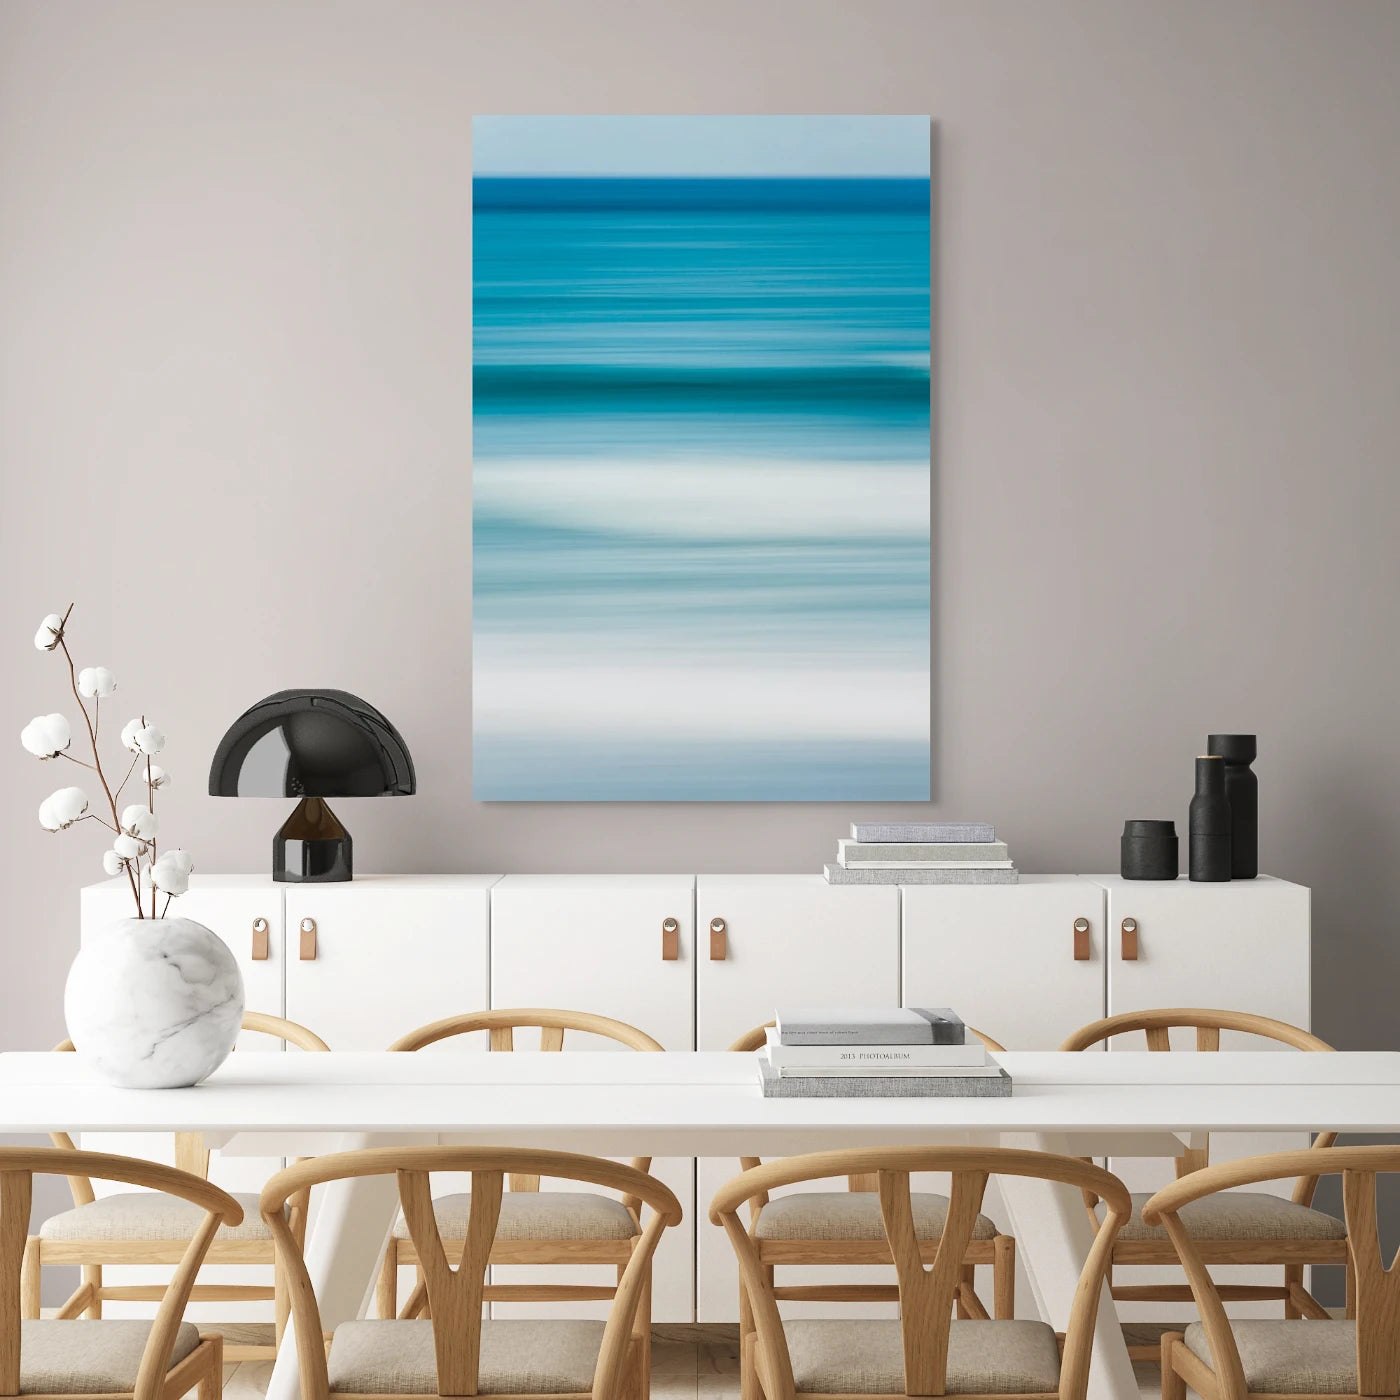
Composition is always the first step. I didn’t have the sun to figure out for this sequence, so I used the large crucifix as a focal point.
Step 2 – Settings
The settings for a sunrise timelapse are basically the opposition of what you’d use for a sunset timelapse. Since shooting would begin in the dark, I used settings for a longer exposure, in order to give myself room to adjust for shorter exposure as the day got brighter.
15 sec at f/2.8, ISO 3200
From there, I could reduce the shutter speed, increase the f-stop or decrease the ISO in order to darken the exposure and night turned into day.
Step 3 – Execution
The process of capturing the images is no different that before. I used the tablet to assess the images as they were captured by the camera and made adjustments as necessary.

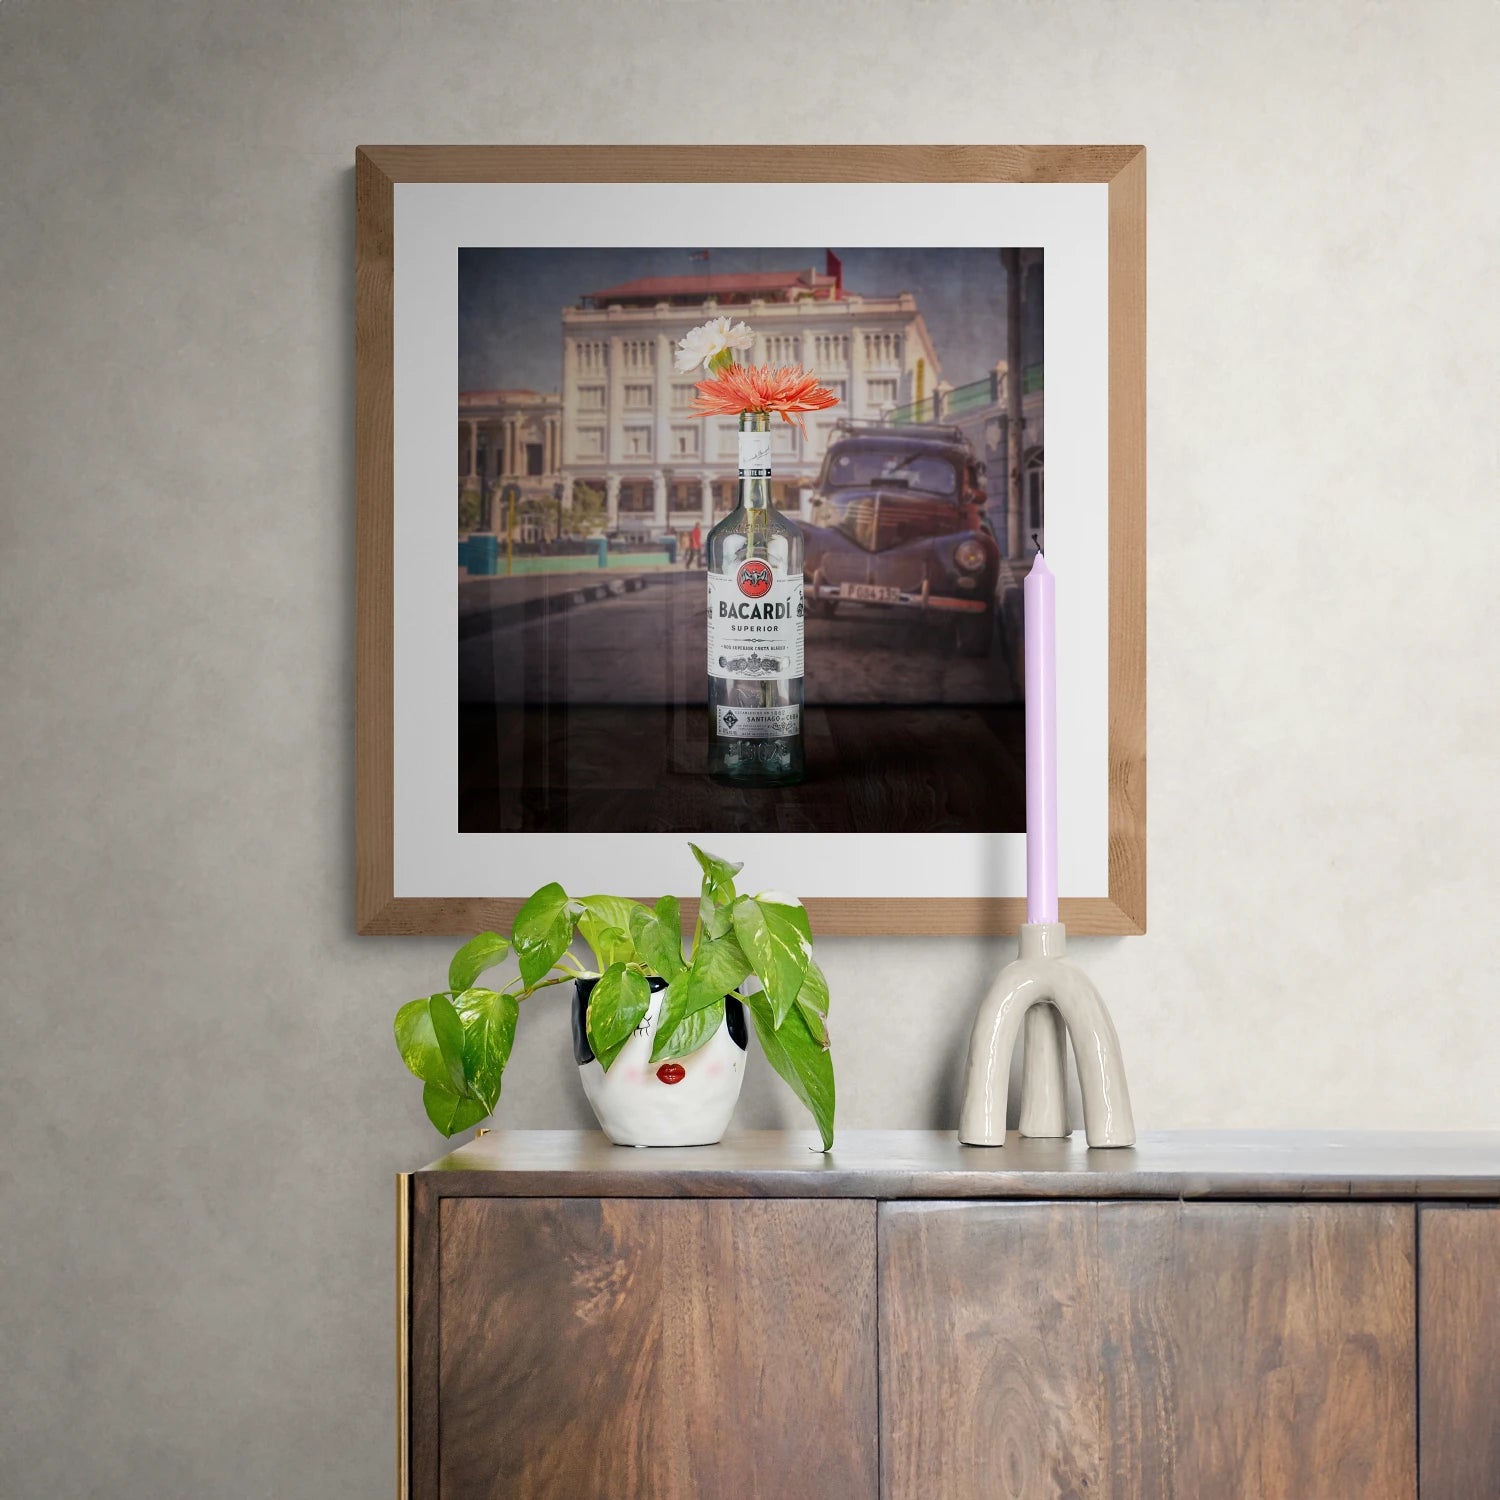
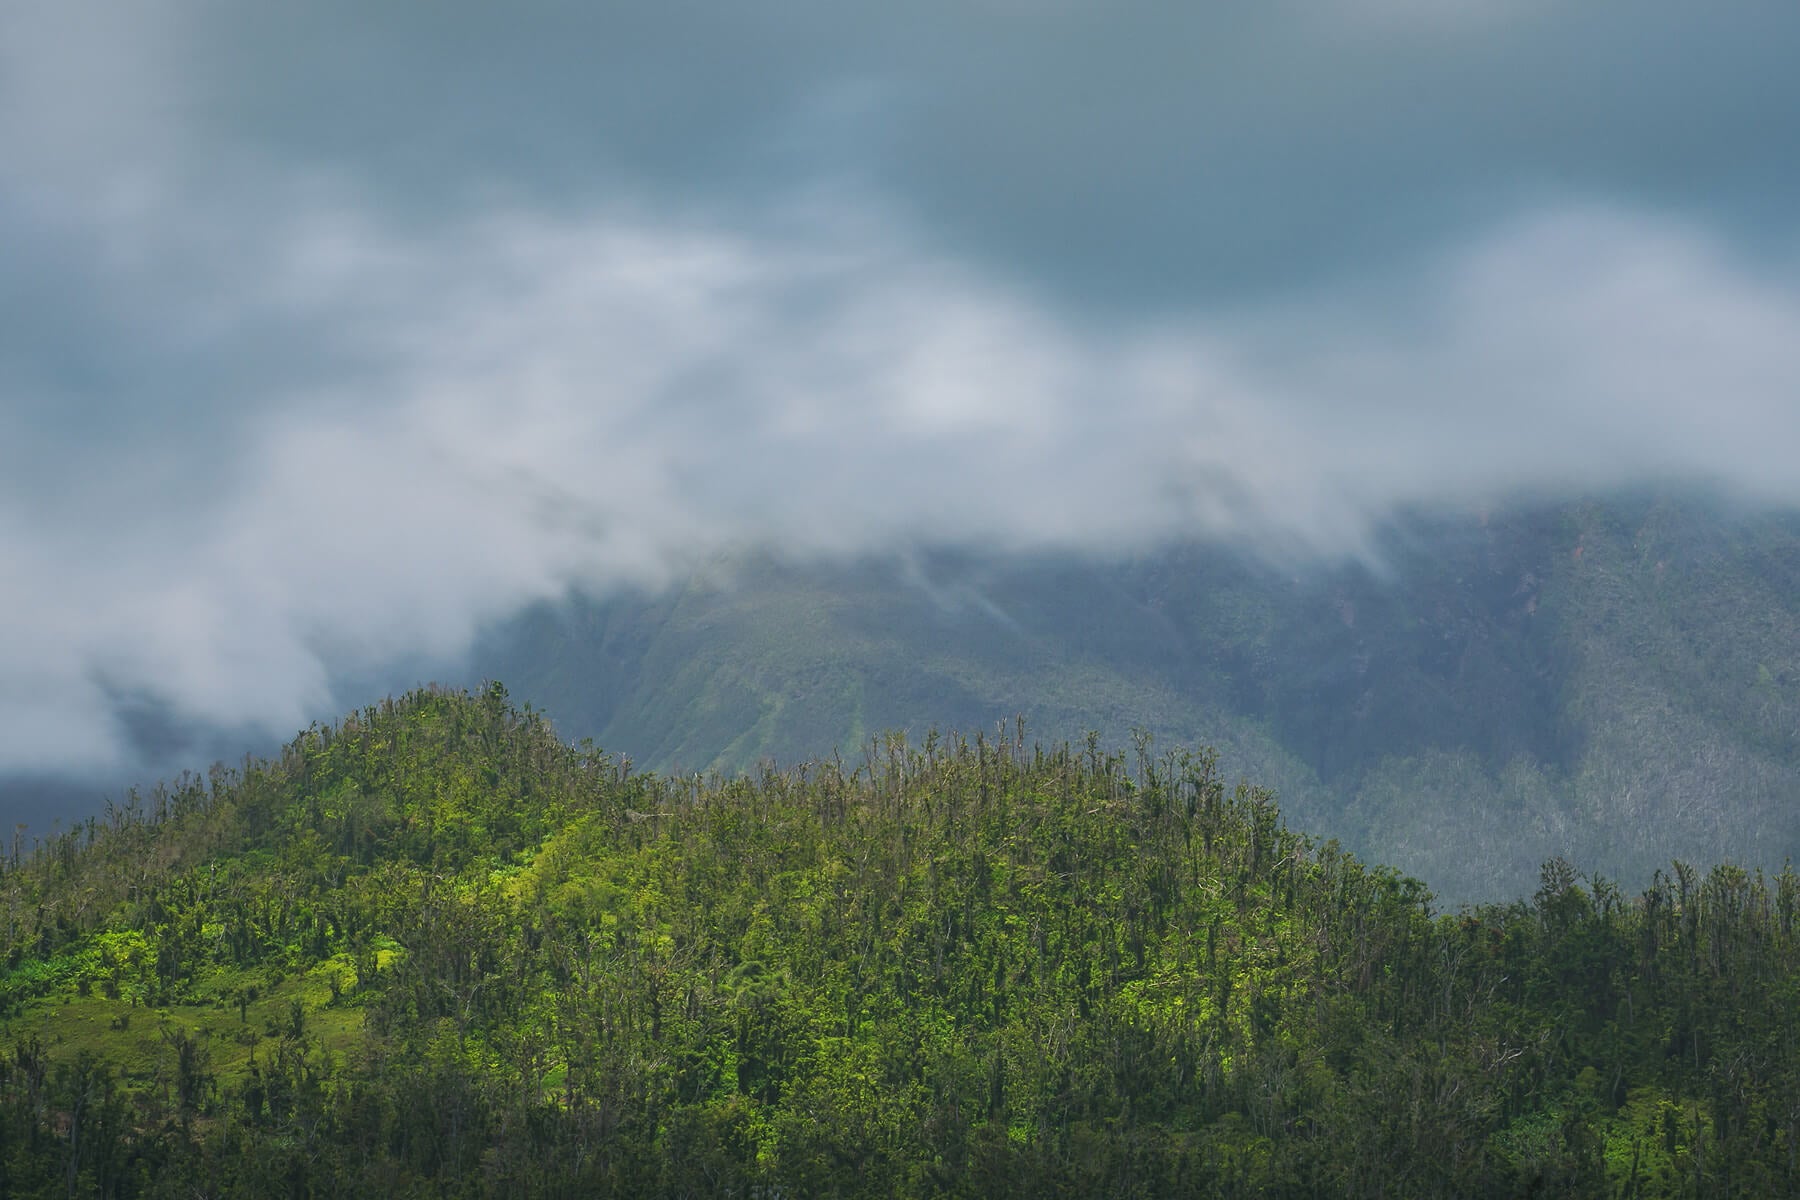
One frame from the sunrise sequence.
*I’ve included two affiliate links on this page, which means I may earn some beer money if you make a purchase through my link. There is no extra cost to you, but it helps to keep this little blog afloat. Thank you! Here’s my official affiliate disclaimer notice.


Leave a comment
All comments are moderated before being published.
This site is protected by hCaptcha and the hCaptcha Privacy Policy and Terms of Service apply.